Nail art looks incredible on social media, but many beginners assume it requires expensive tools, professional skills, or years of practice. The truth is much simpler. Some of the most attractive nail designs are also the easiest to create at home.
You do not need a collection of specialty brushes, stamping kits, or dozens of nail polish colors to create beautiful nail art. In fact, many beginner-friendly designs can be done using regular nail polish and items you probably already have around the house.
If you've always wanted to try nail art but felt intimidated, this guide is for you. These simple designs are beginner-approved, require minimal tools, and work with virtually any nail polish color.
The goal isn't perfection. The goal is having fun while creating stylish nails that look far more complicated than they actually are.
Why Beginner Nail Art Is Easier Than Ever
Modern nail trends have shifted toward simpler, more wearable designs.
Instead of highly detailed artwork, many of today's most popular manicures focus on minimalism, negative space, dots, lines, and abstract patterns. These styles are much more forgiving than intricate hand-painted designs.
Small imperfections often add character rather than ruining the look.
This makes nail art more accessible than ever for people who have never picked up a nail art brush before.
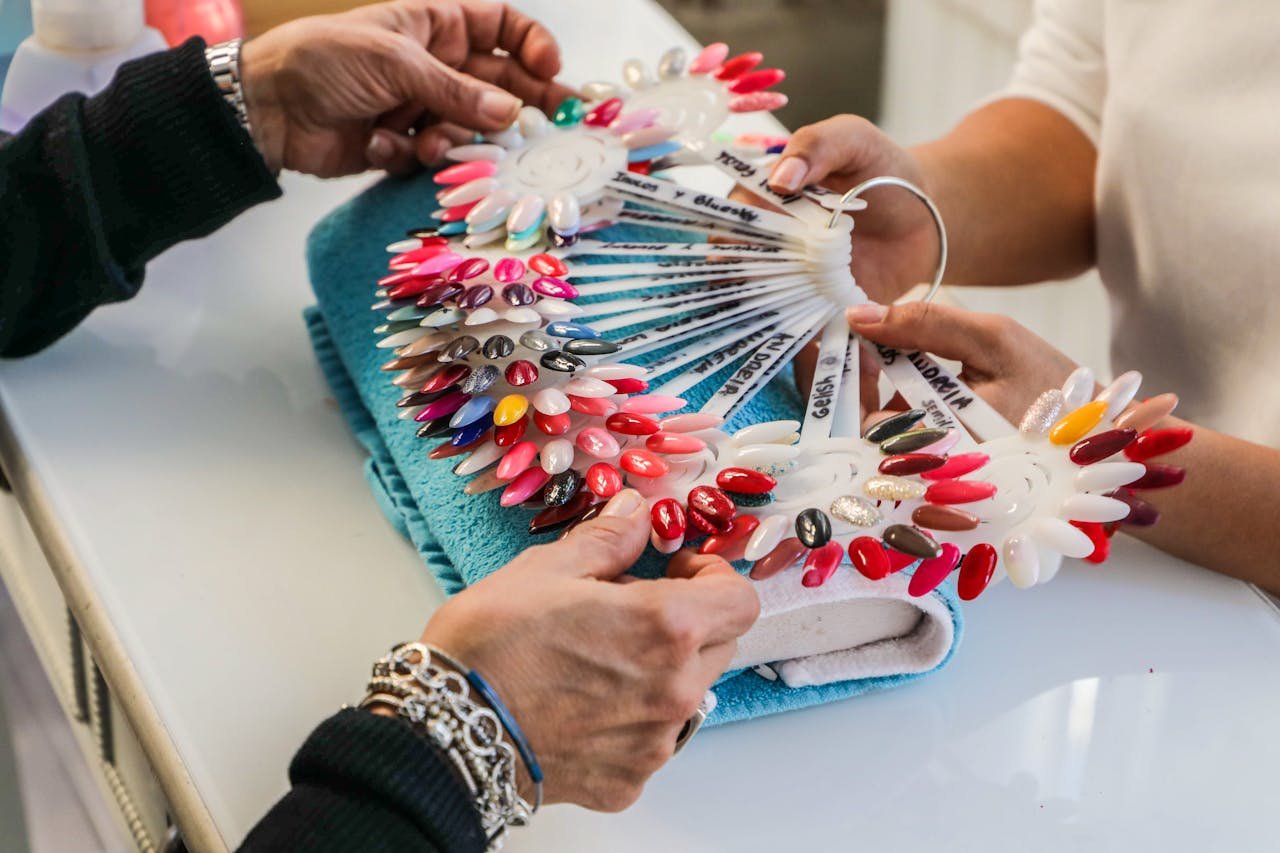
What You'll Need
Before getting started, gather a few basic supplies.
You'll need:
Nail polish
Base coat
Top coat
Toothpicks
Bobby pins
Cotton swabs
Nail polish remover
That's it.
While professional tools can help, they are not necessary for these beginner-friendly designs.
Design 1: Classic Polka Dots
Polka dots are often considered the easiest nail art design for beginners.
Start with your favorite base color and allow it to dry completely.
Dip the rounded end of a bobby pin into another polish color and gently press it onto the nail. Repeat until you've created as many dots as you'd like.
You can create:
Even patterns
Random patterns
Accent nails
Multi-colored dots
The design works with virtually every color combination and requires very little precision.
Design 2: Accent Nail
Sometimes the simplest nail art creates the biggest impact.
Instead of decorating every nail, paint one nail on each hand a different color.
This is usually the ring finger, but there are no strict rules.
Popular combinations include:
Nude nails with one glitter nail
White nails with one metallic nail
Pink nails with one chrome nail
Neutral nails with one bold color
Accent nails remain popular because they are stylish, quick, and beginner-friendly.
Design 3: Minimalist French Tips
French manicures have evolved significantly in recent years.
Instead of traditional thick white tips, try creating thin colorful tips using any nail polish you already own.
You don't need perfect lines.
A slightly imperfect micro French tip often looks modern and trendy.
Popular options include:
Pastel tips
Black tips
Neon tips
Metallic tips
Glitter tips
This design feels sophisticated while remaining surprisingly easy.
Design 4: Abstract Color Blocks
Abstract nail art is perfect for beginners because perfection is not required.
Apply your base color and allow it to dry.
Using a second polish color, paint small irregular shapes on different areas of the nail. Add a third color if desired.
The goal is creating a playful, artistic look rather than precise geometric shapes.
Modern abstract designs often look intentionally imperfect, which makes them ideal for first-time nail artists.
Design 5: Simple Heart Nails
Heart nail art may sound difficult, but it is actually one of the easiest designs to create.
Use a toothpick to place two small dots close together.
Then drag both dots downward toward a single point.
The result creates a tiny heart shape.
You can place a heart on:
One accent nail
Every nail
The corner of the nail
The center of the nail
This design works especially well for Valentine's Day, anniversaries, or romantic-themed manicures.
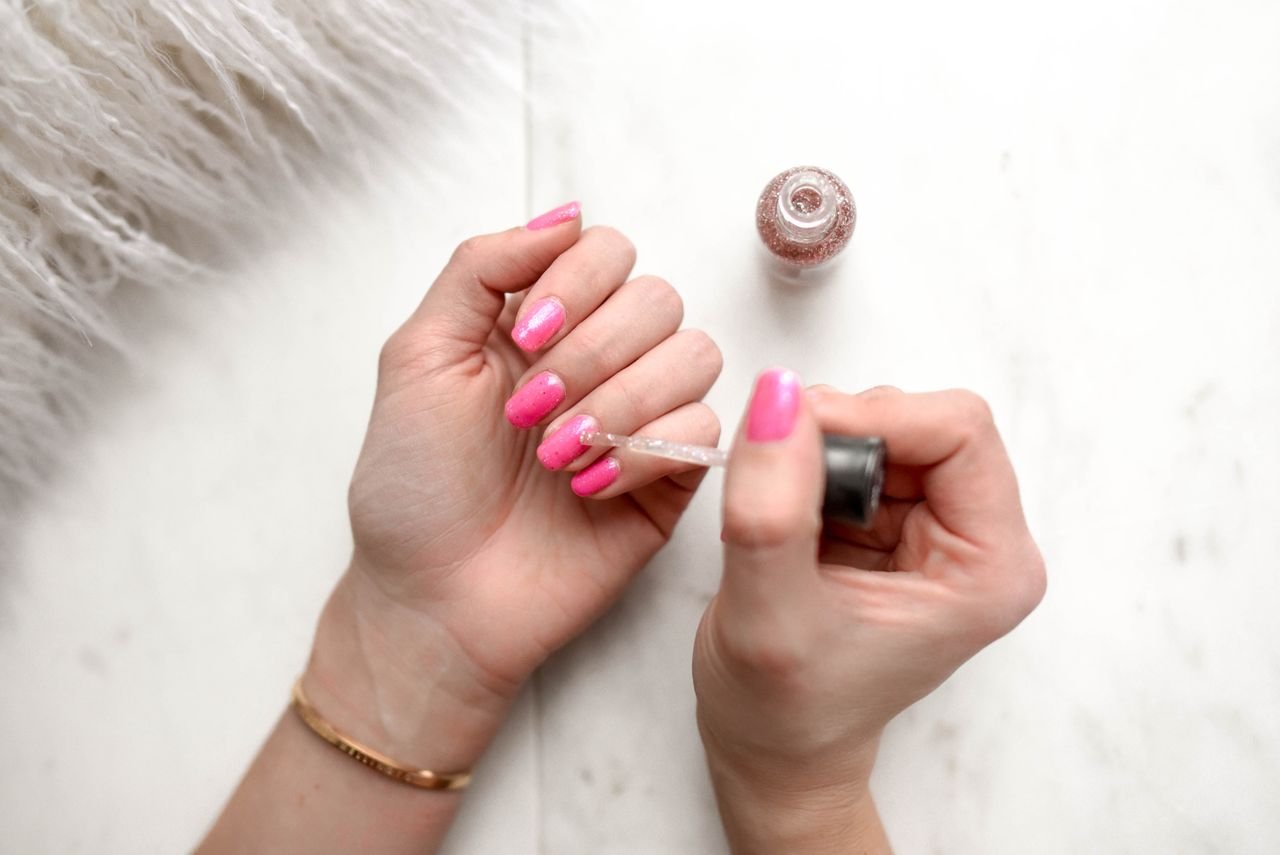
Design 6: Glitter Gradient Nails
A glitter gradient creates a professional-looking manicure with very little effort.
Apply your base color and allow it to dry.
Then apply glitter polish mainly to the tips of the nails. Gradually fade the glitter downward toward the center.
The concentrated sparkle at the tip creates a beautiful ombré effect.
This design is excellent for:
Holidays
Weddings
Parties
Special events
It instantly makes a simple manicure feel more glamorous.
Design 7: Tiny Daisy Flowers
Floral nail art does not need to be complicated.
Using a bobby pin or dotting tool, create five small white dots arranged in a circle.
Then add a yellow dot in the center.
The result is a simple daisy flower.
Tiny daisies have become one of the most popular beginner nail art trends because they are cheerful, easy to create, and look adorable on both short and long nails.
They work especially well during spring and summer.
Design 8: Diagonal Color Tips
Diagonal tips offer a modern twist on traditional nail art.
Paint your nails with a base color and allow them to dry.
Using a second color, paint a diagonal section across one corner of the nail tip.
You can leave the design simple or add a thin line of glitter where the colors meet.
This design looks surprisingly sophisticated despite requiring very little skill.
It is also highly customizable depending on your favorite colors.
Common Nail Art Mistakes Beginners Make
The biggest mistake beginners make is trying to create complicated designs too quickly.
Simple designs usually look cleaner and more professional.
Other common mistakes include:
Applying thick polish layers
Not allowing polish to dry fully
Skipping base coat
Skipping top coat
Using too much polish on tools
Patience often matters more than artistic talent when it comes to nail art.
Why Top Coat Is So Important
A quality top coat can completely transform beginner nail art.
Top coat smooths minor imperfections, increases shine, and helps protect the design from chips.
Many people are surprised by how much more professional their nail art looks after applying top coat.
If you're spending time creating designs, this step is worth the extra few minutes.
How to Make Nail Art Last Longer
Beautiful nail art lasts longer when proper care follows.
To extend wear time:
Apply thin polish layers
Use a quality base coat
Seal with top coat
Reapply top coat every few days
Wear gloves when cleaning
Avoid using nails as tools
Even simple precautions can add several extra days to your manicure.
Don't Worry About Perfection
One of the biggest misconceptions about nail art is that it must be flawless.
Professional nail artists spend years developing their skills. Beginners should focus on enjoyment rather than perfection.
In fact, many modern nail trends embrace irregular shapes, abstract patterns, and hand-drawn details.
Small imperfections often make nail art feel more creative and unique.
The more you practice, the more comfortable you'll become.
Final Thoughts
Nail art does not have to be complicated, expensive, or intimidating. Some of the most stylish designs are also the easiest to create at home.
Polka dots, abstract shapes, glitter gradients, daisies, hearts, and colorful French tips all prove that beautiful nail art can be achieved with minimal tools and beginner-level skills.
The best part is that these designs work with almost any nail polish you already own. You do not need a massive collection to get started.
If you've been hesitant to try nail art, choose one design from this list and give it a try. You may be surprised by how easy and enjoyable creating your own nail designs can be.
Sometimes the best manicure is not the most complicated one. It is simply the one you had fun creating yourself.
Comments (0)
No comments yet. Be the first to share your thoughts!
Leave a Comment
You must be logged in to post a comment.